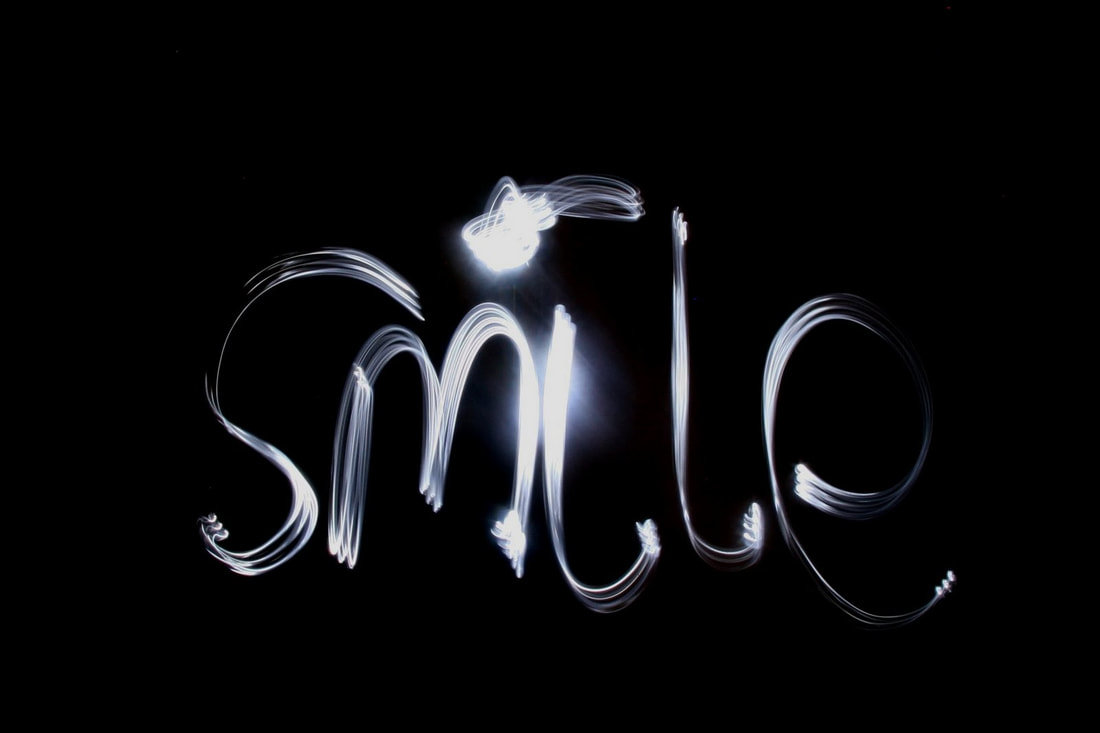
DRAWING WITH LIGHT
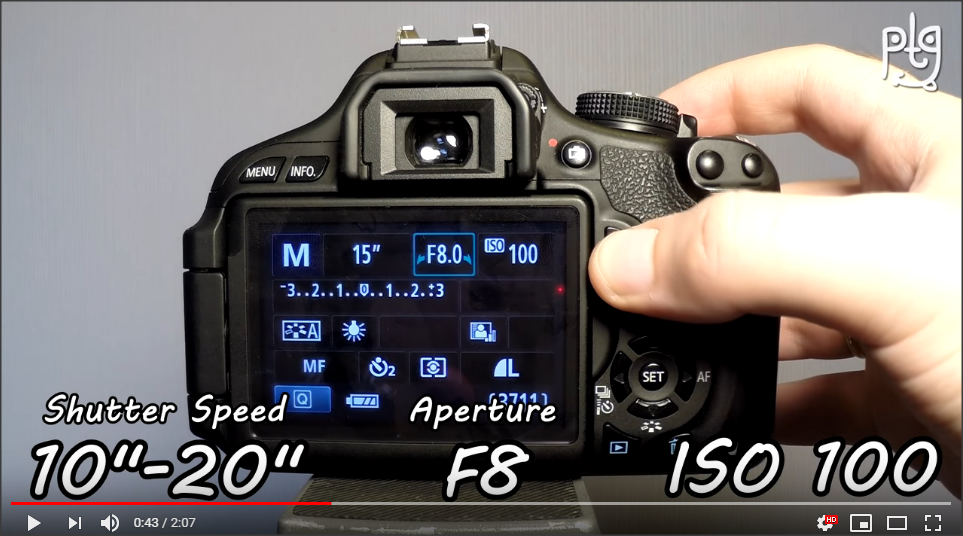
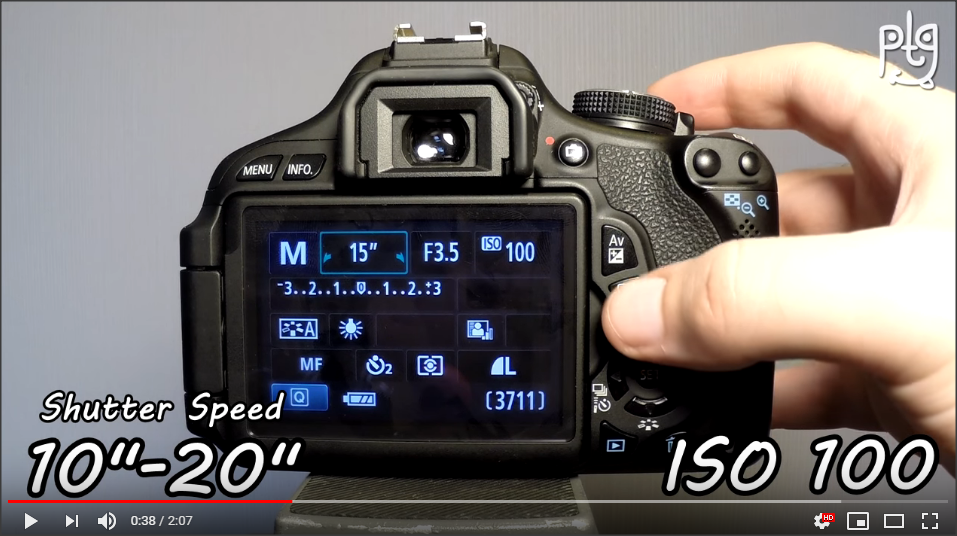
Drawing with light photography is the art of using handheld lights to paint/draw a scene while the shutter speed of the camera is left open during a long period of time, the setting the shutter speed should be on is 1oo ISO, shutter speed 10"-20", aperture F8. It is recommended to draw light in a dark location, and using the photographic technique of long exposure photography.
Equipment-
-Tripod
-Source of light with different colour
-Camera
-A dark Room
Equipment-
-Tripod
-Source of light with different colour
-Camera
-A dark Room
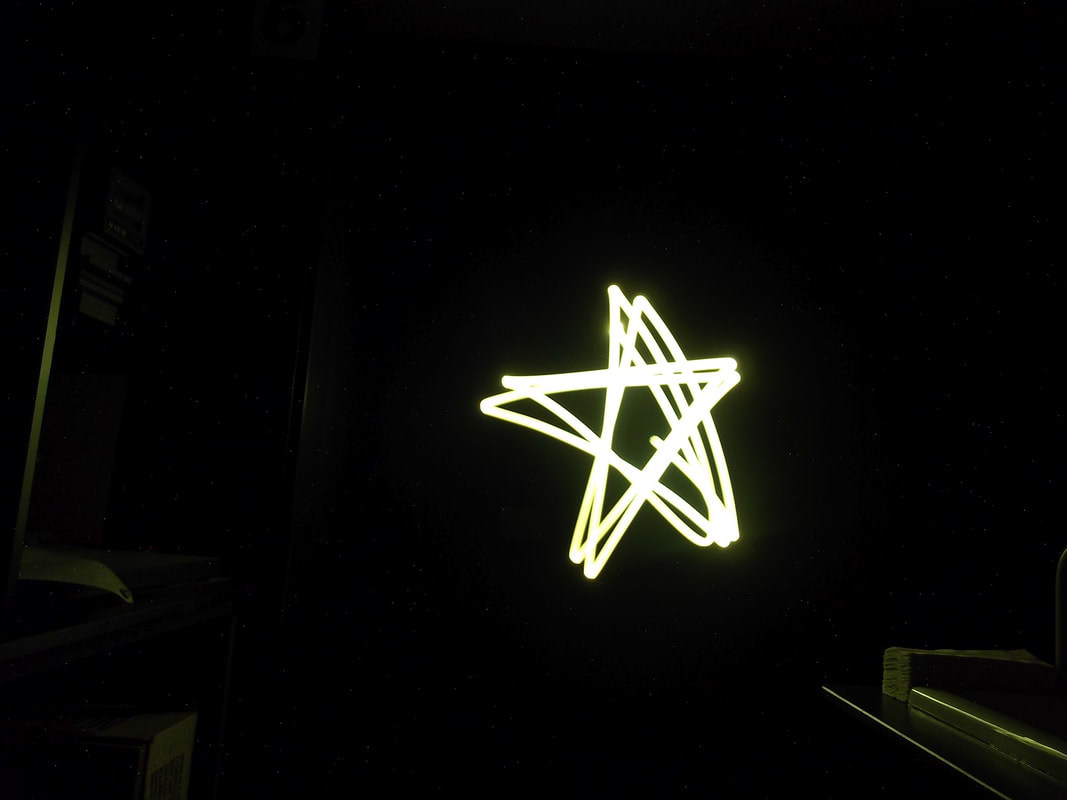
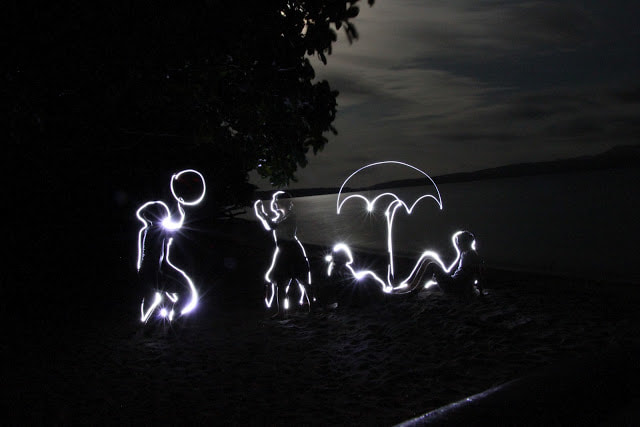
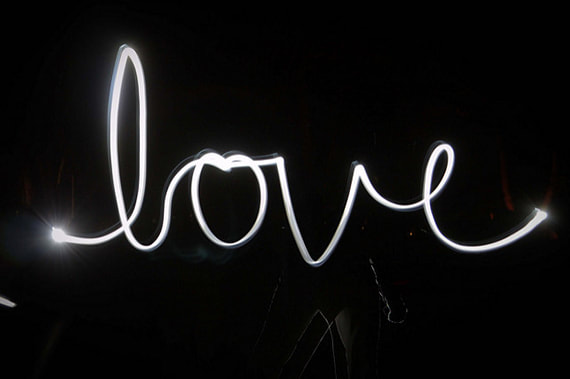
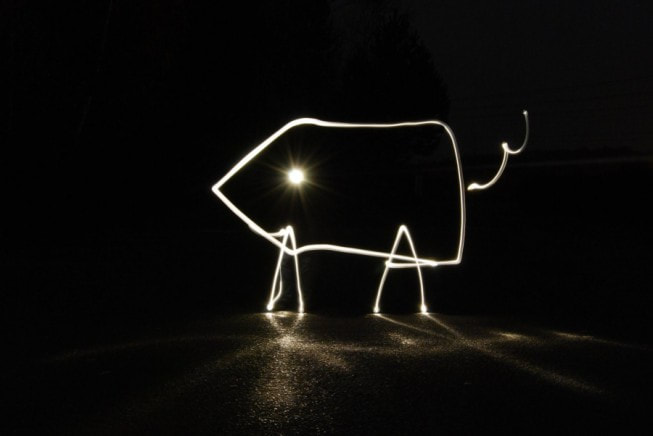
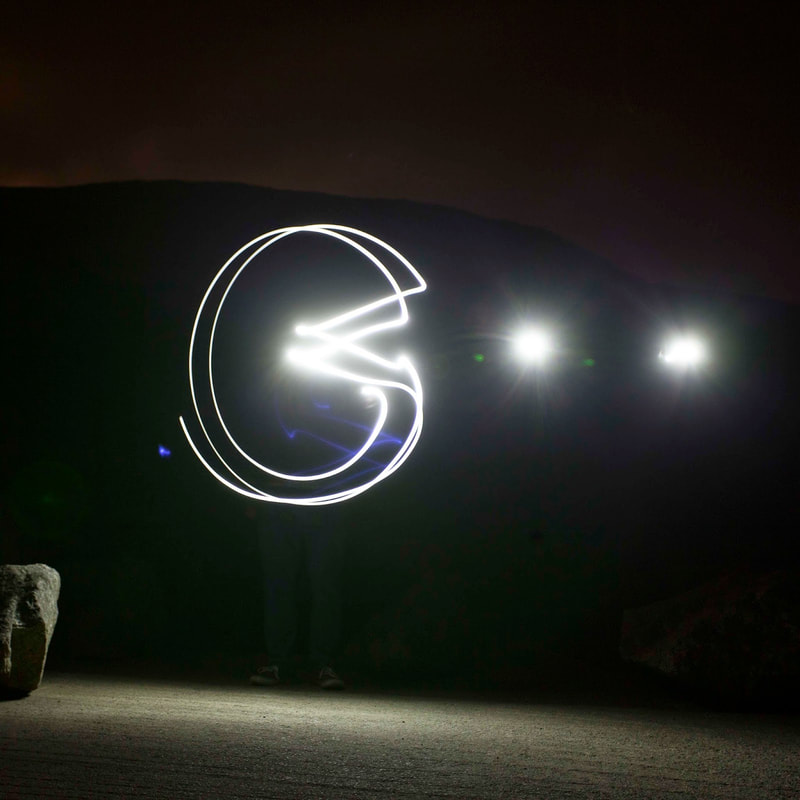
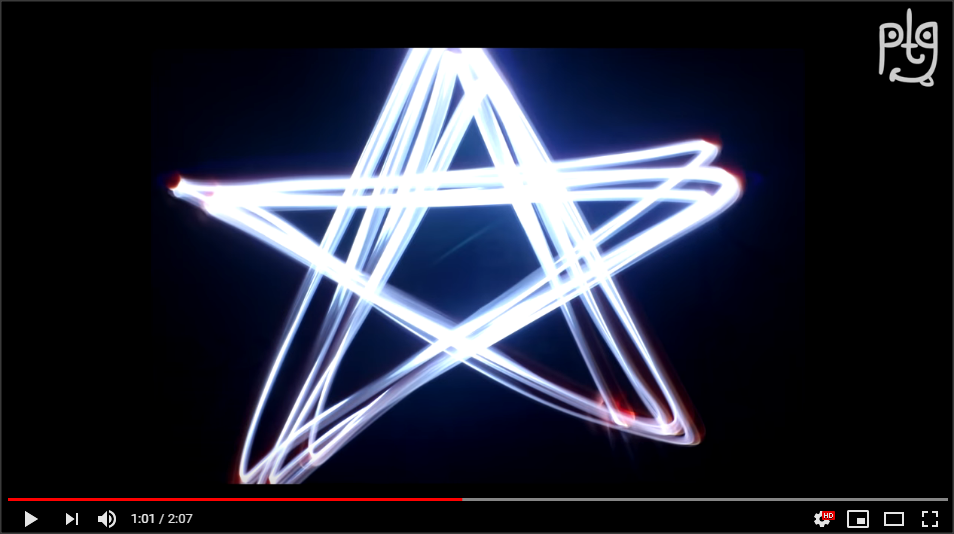
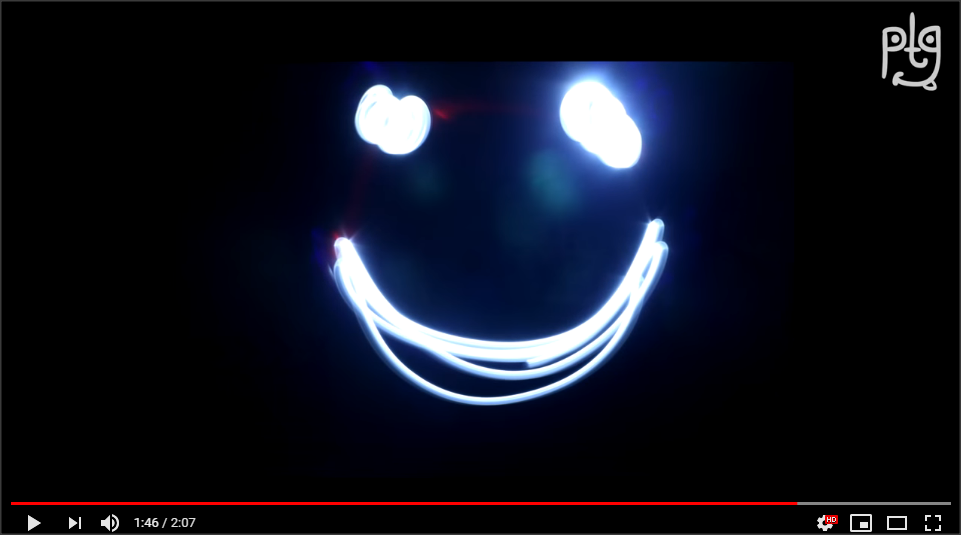
Examples
Guides On Drawing With Light
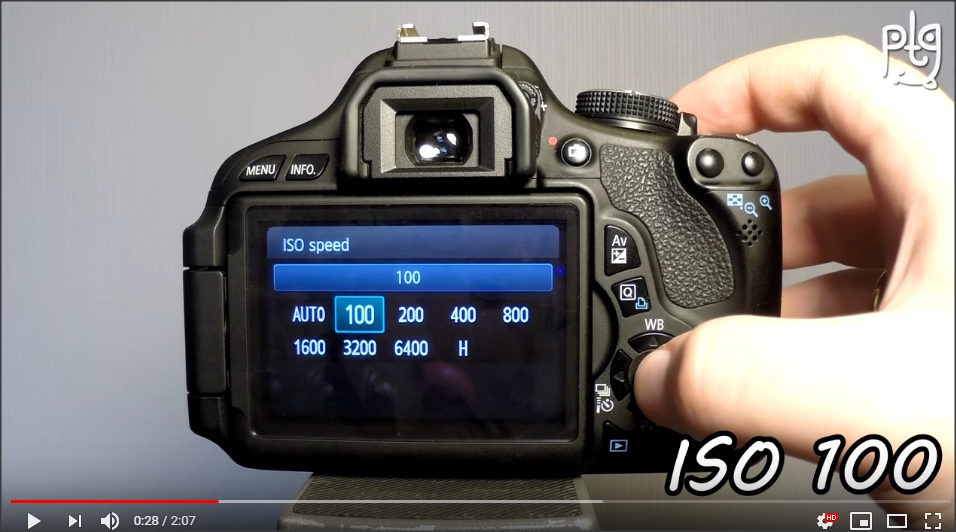
I did some research on drawing with light and found a step by step YouTube video, with the all the camera settings needed for the shoot, also shows a few examples and ideas you can draw with light.
|
|
|
|
HOW TO CREATE YOUR FIRST LIGHT PAINTING:
STEP 1: Get the camera settings properly adjusted (Shooting Mode, Shutter Speed, F-Stop and ISO), put your tripod in place, and get your light source ready. Now go ahead and frame the shot that you want to create this is best to do with the lights on; if you are in a dark environment turn on your light source to project light onto the scene so you can frame the shot.
STEP 2: Next you need to focus the image, if you are in an place where you can turn lights on and off TURN THEM ON FOR THIS PART. Zoom in as far as you can to the part of the frame you want in focus, if the lights are on you can use your auto focus. Once you have the focus set your lens over to manual focus and leave it there, now zoom back out and reframe the shot. If you are focusing in the dark set the focus on manual, illuminate your light source and place it in the shot next to the part of the scene you want to have in focus, zoom in, pull focus on the illuminated light source, leave the lens on manual focus, zoom back out and reframe the shot. This will ensure you get a sharp image.
STEP 3: Turn all lights off. Open the shutter of your camera to begin the long exposure, illuminate your Light Painting Brushes tools and begin to paint.
STEP 4: Go to the back of your camera and have your mind blown at the beauty you just created.
Plan for my First shoot
Experimenting With Drawing With Light
|
|
